Open topic with navigation
Overview of report options
When the minimum required number of files has been captured, the Start Processing button is available. Click the small triangle to see the different analysis options:
Note: For CGM2 reporting option see previous chapter.
Marker-based session
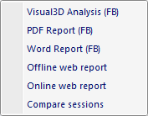
- Visual3D Analysis (default): exports checked files to c3d, runs script in Visual3D, creates Visual3D report but stops analysis before exporting results from Visual3D (report is not generated). Make sure you save any changes you make to the Visual3D workspace and close Visual3D before proceeding.
- PDF Report: opens Visual3D file created in step a., exports results, generates Word report (see “Word report”), generates PDF report from Word report and opens it in default PDF viewer.
- Word Report: opens Visual3D file created in step a., exports results and generates Word report (see “Word report”).
- Offline web report: opens Visual3D file created in step a., exports results and generates offline HTML report (see “Web report”).
- Online web report: opens Visual3D file created in step a., exports results and generates online HTML report (see “Web report”). Use your qualisys.com credentials to log in to the Report Center to retrieve reports (https://report.qualisys.com).
- Compare sessions: creates two session comparison report (both in Visual3D and Word), for example for pre-/post-comparisons (see “Comparison report”). Note that each session must be processed on its own before the data can be compared.
The purpose of a. is that you have the opportunity to check (and modify) the Visual3D analysis before the report is generated. All reports, except online report are stored at folder of active session.
Markerless session
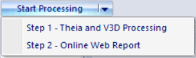
- Step 1 - Theia and V3D Processing: Starts Theia3D, reads .avi files created by QTM, reorganize them, process all videos and creates .c3d file for each trial containing Theia model, exports checked .qtm files to .c3d, merges them with Theia generated .c3d, runs Visual3D scripts and creates Visual3D report.
- Step 2 - Online Web Report: opens Visual3D file created in step a., exports results and generates online HTML report (see “Web report”). Use your qualisys.com credentials to log in to the Report Center to retrieve reports (https://report.qualisys.com).
Note: These steps must be run in consecutive order.
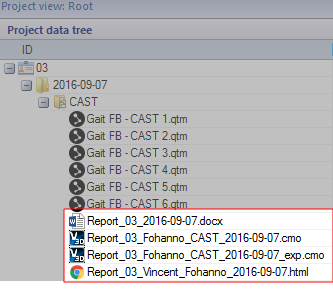
To re-open a report at a later stage, double-click its name in the Project data tree of the Project automation pane in QTM: